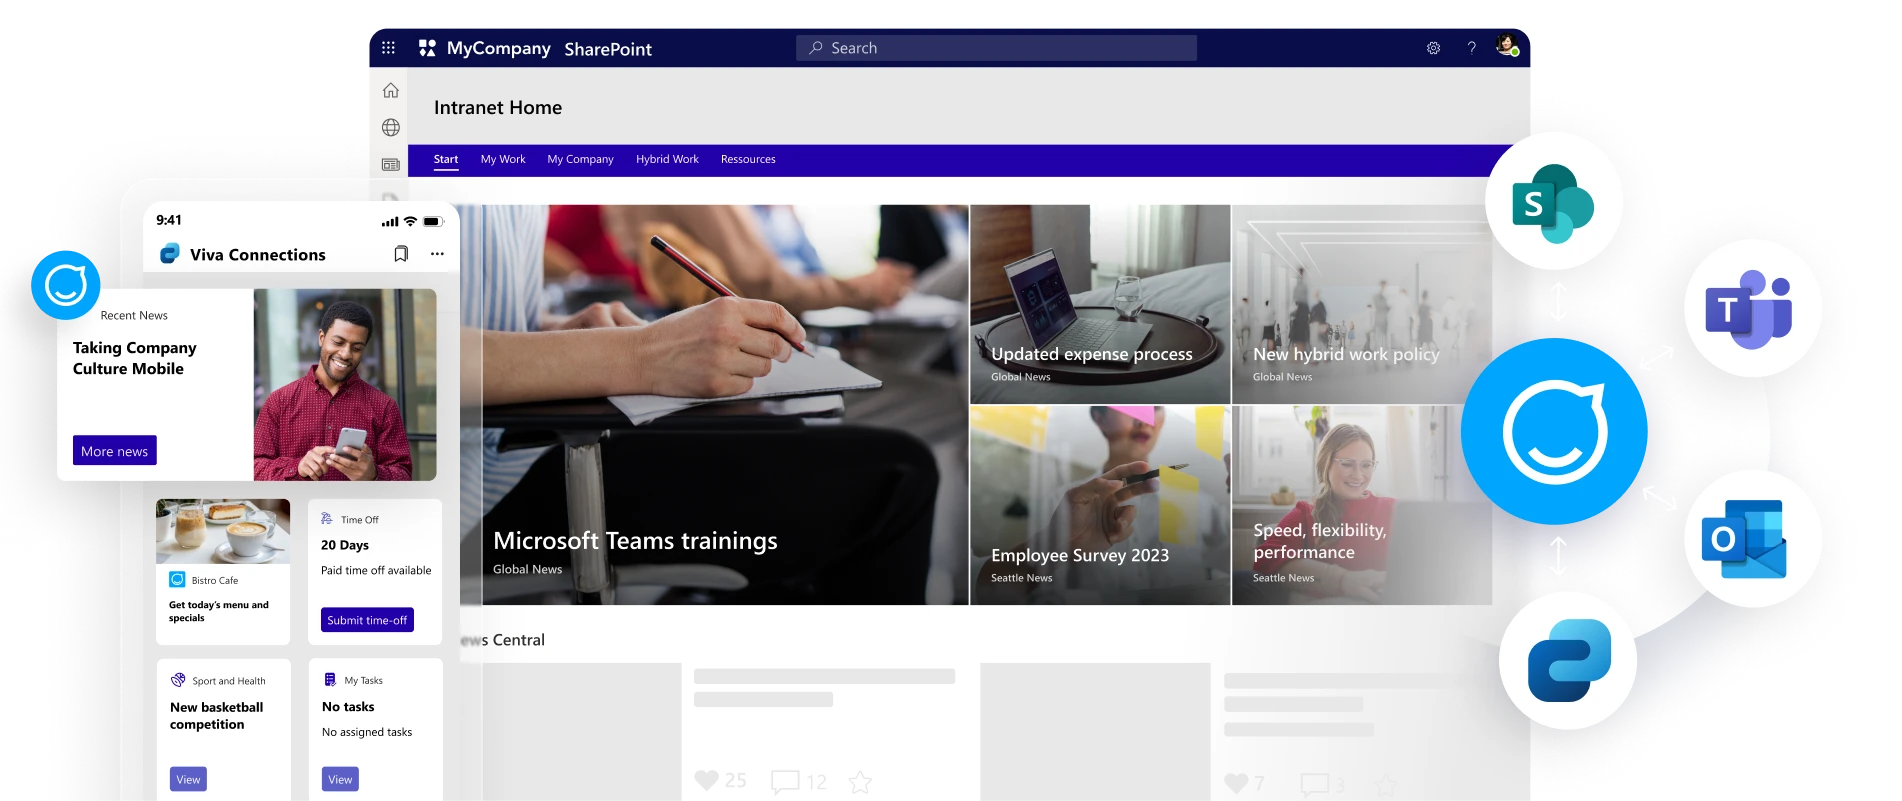
Introduction
In this day and age, it is normal for a power user to start working on one device and then pick up where he/she left off on another. Hence the need to have similar responsiveness in PowerApps has been requested by the Power Users community and thanks to the PowerApps Product Group, this feature is now available. This new feature is still in its infancy stages and if you create a responsive layout, controls can respond to different devices or window sizes, making the experience on different form factors feel more at home. To achieve a responsive layout, you adjust some settings and write expressions throughout your app. This blog walks you through how you can plan and build an app with a responsive design. Would you like a little intro before diving in?
To create a responsive design, you locate and size each control by using formulas instead of absolute (constant) coordinate values. These formulas express each control’s position and size in terms of the overall screen size or relative to other controls on the screen.
IMPORTANT!!
When you start to use formulas to achieve a dynamic layout, you should avoid dragging controls. Dragging will remove the formulas you’ve added for the dynamic feature and replace it with static numerical values.
Video
Here’s the video that deep dives into how to build your very first app using PowerApps with responsive design:
Here’s the screenshot of the app:
Here is the list of key formulas for each control
Header label or HeaderLabel
X = 0
Y = 0
Width = Max(App.Width)
Height = Parent.Height/20
Submit button or SubmitButton
X = 0
Y = Parent.Height-SubmitButton.Height
Width = Max(App.Width)
Height = Parent.Height/20
Height of all the remaining controls
We are going to create a temporary label and reference it as a height for all the remaining controls. Create a temporary label and call it HeightLabel and here is the formula
(Parent.Height-(DeviceGallery.TemplateHeight+SubmitButton.Height+HeaderLabel.Height))/12
Full Name Label or FullNameLabel
X = 0
Y = HeaderLabel.Y+HeaderLabel.Height
Width = Max(App.Width)
Height = HeightLabel
Full Name Text Input or FullNameTextInput
X = 0
Y = FullNameLabel.Y+FullNameLabel.Height
Width = Max(App.Width)
Height = HeightLabel
Here’s a table that provides you the information you need for the remaining controls.
Control Name | X | Y | Width | Height |
Email Address Label or EmailAddressLabel | 0 | FullNameTextInput.Y+FullNameTextInput.Height | Max(App.Width) | HeightLabel |
Email Address Text Input or EmailAddressTextInput | 0 | EmailaddressLabel.Y+EmailaddressLabel.Height | Max(App.Width) | HeightLabel |
State Label or StateLabel | 0 | EmailAddressTextInput.Y+EmailAddressTextInput.Height | Max(App.Width) | HeightLabel |
State Combo Box or StateComboBox | 0 | StateLabel.Y+StateLabel.Height | Max(App.Width) | HeightLabel |
City Label or CityLabel | 0 | StateComboBox.Y+StateComboBox.Height | Max(App.Width) | HeightLabel |
City Combo Box or CityComboBox | 0 | CityLabel.Y+CityLabel.Height | Max(App.Width) | HeightLabel |
MFR Label or MFRLabel | 0 | CityComboBox.Y+CityComboBox.Height | Max(App.Width) | HeightLabel |
MFR Combo Box or MFRComboBox | 0 | MFRLabel.Y+MFRLabel.Height | Max(App.Width) | HeightLabel |
Device Label or DeviceLabel | 0 | MFRComboBox.Y+MFRComboBox.Height | Max(App.Width) | HeightLabel |
Device Combo Box or DeviceComboBox | 0 | DeviceLabel.Y+DeviceLabel.Height | Max(App.Width) | HeightLabel |
Device Gallery or DeviceGallery | 0 | DeviceComboBox.Y+DeviceComboBox.Height | Max(App.Width) | (DeviceComboBox.Y+DeviceComboBox.Height)-SubmitButton.Height |
Device Gallery Image | 0 | (Parent.TemplateHeight / 2) – (Image1.Height / 2) | Max(App.Width) | SubmitButton.Y-(DeviceComboBox.Y+DeviceComboBox.Height) |
As mentioned in the video here are the remaining formulas on how to filter the combo box controls and how-to setup the Height, Parent Width and the Parent Height labels
StateComboBox items:
‘[dbo].[StateCapital]’
CityComboBox items:
Filter(‘[dbo].[StateCityCounty]’,StateLong=StateComboBox.Selected.State)
MFRComboBox items:
Manufacturers
DeviceComboBox Items:
Filter(Devices,ManufacturerName=MFRComboBox.Selected.Title)
DeviceGallery
Filter(Devices,Title=DeviceComboBox.Selected.Title)
Max(App.Width)
HeightLabel
HeightLabel
X = 0
Y = SubmitButton.Y
Text = (Parent.Height-(DeviceGallery.TemplateHeight+SubmitButton.Height+HeaderLabel.Height))/12
ParentWidthLabel
Text = Concatenate(“W – “,Text(Parent.Width))
X = 0
Y = 0
ParentHeightLabel
Text = Concatenate(“H – “,Text(Parent.Height))
X = Parent.Width-ParentHeightLabel.Width
Y = 0
Don’t forget to check out our blog for more great content from Daniel + other Microsoft MVPs and don’t forget to visit his YouTube channel for more great explanations and walkthroughs! 😁
Helpful links
- New Responsive Design https://docs.microsoft.com/en-us/powerapps/maker/canvas-apps/create-responsive-layout
- UI and UX features – https://powerusers.microsoft.com/t5/Community-Video-Gallery/PowerApps-UI-and-UX-enhancement/m-p/200462
- Vertical menu with expand and collapse https://powerusers.microsoft.com/t5/Community-Video-Gallery/Vertical-menu-with-expand-and-collapse-feature/m-p/200445
***
Do you love responsive design? Did you know that Valo Intranet on Modern SharePoint is 100% responsive! Find out more on our website or book a demo to learn how your company can fall in 💛 with their responsive intranet!
***
Like what you’ve just read? Find out more from Daniel Christian in his blog about User-based security in PowerApps.